
Understanding On-Site Videography
What Is On-Site Videography?
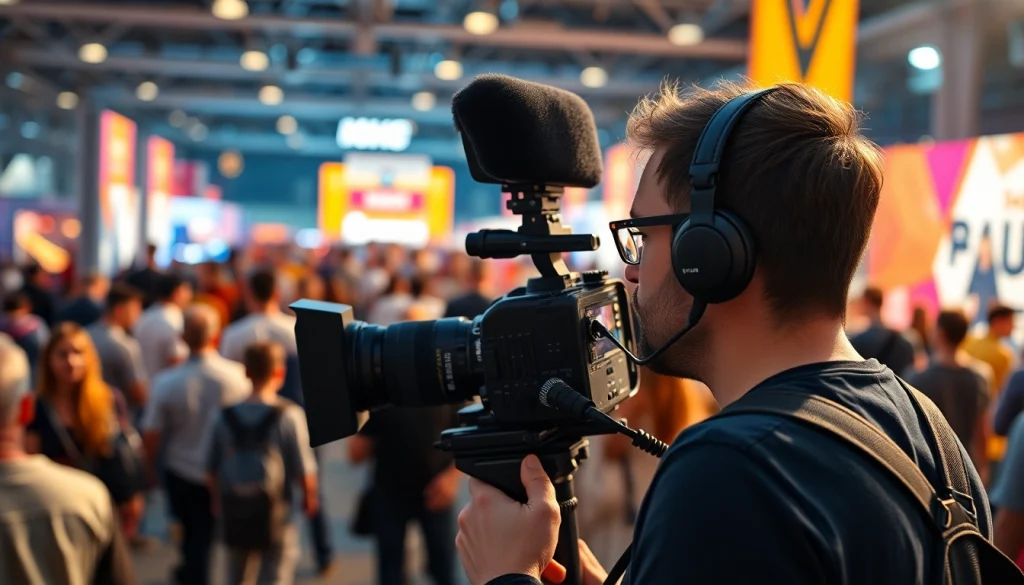
On-site videography refers to the process of capturing high-quality video footage directly at a chosen location, as opposed to a traditional studio setting. This methodology embraces the natural environment and context, ensuring that the video content resonates with authenticity and realism. With the rise in digital content consumption, this approach becomes increasingly vital for businesses and content creators who wish to convey genuine emotions and real-life scenarios. The flexibility of on-site videography enables productions that range from corporate events and training sessions to more creative projects like documentaries and brand storytelling.
Benefits of On-Site Videography
On-site videography offers numerous advantages that set it apart from the traditional studio filming. Here are some key benefits:
- Authenticity: Capturing footage in a real-world environment allows for a more genuine and relatable portrayal of events, enhancing emotional engagement.
- Cost-Effectiveness: By eliminating the need for extensive sets and studio rentals, on-site videography can significantly reduce production costs.
- Convenience: Filming at the desired location can simplify logistics, especially when involving subjects who may be needed during the production, such as employees or clients.
- Increased Engagement: Viewers are often more attracted to content that feels real and relatable, which can lead to higher engagement rates.
Common Applications of On-Site Videography
On-site videography is versatile and can be tailored to suit a variety of purposes, including:
- Corporate Events: Company meetings, team-building exercises, and conferences are perfect opportunities to capture the essence of a brand in action.
- Product Launches: Businesses can create buzz around new products through eye-catching videos that highlight the product in its intended environment.
- Training Videos: On-site filming is ideal for educational content, demonstrating how to perform tasks in real-world settings enhances the learning experience.
- Events and Festivals: From weddings to concerts, capturing live events can help convey the excitement and energy of the occasion.
Preparing for Your On-Site Videography Shoot
Essential Equipment for On-Site Videography
To ensure a successful on-site videography shoot, the right equipment is crucial. Here’s a checklist of essential items:
- Camera: A high-quality camera capable of recording in various resolutions is essential for capturing clear, stunning footage.
- Tripod: A sturdy tripod helps stabilize the shot and provides smooth camera movements, which is key for professional-looking videos.
- Microphones: Audio quality is just as important as video. Invest in quality microphones, including lavalier mics for interviews and shotgun mics for capturing ambient sound.
- Lighting Equipment: Good lighting is imperative, especially in less-than-ideal shooting conditions. Consider portable LED lights that can be easily transported.
- Editing Software: Post-production is where the magic happens. Familiarize yourself with software that allows for advanced editing techniques and effects.
Choosing the Right Location
The location plays a critical role in the success of an on-site videography shoot. Here’s how to choose the best setting:
- Relevance: Select a location that is meaningful and relevant to the content you wish to create. This brings authenticity to your narrative.
- Accessibility: Ensure that the location is easy to access for both the crew and the participants, making the logistics manageable for everyone involved.
- Ambiance: Consider the atmosphere of the location. Natural settings can enhance the emotional depth of the video, while controlled interiors can allow for precise lighting.
- Permits: Check if any permits are needed to shoot in the desired location—compliance with regulations is crucial.
Creating a Production Schedule
Planning is key when it comes to successful on-site videography. A well-structured production schedule helps keep everyone on track. Steps to consider include:
- Determine Duration: Estimate how long it will take to complete various segments of the shoot. Include buffer time for unexpected delays.
- Assign Roles: Clearly define roles and responsibilities for each crew member to ensure smooth coordination during the shoot.
- Time Allocation: Break down the shooting schedule into manageable chunks, assigning specific times to various scenes or interviews.
- Flexibility: Be prepared for unplanned situations. Keeping a flexible approach can help maintain morale and efficiency.
Executing the On-Site Videography Shoot
Capturing Quality Audio and Video
Once you’ve laid the groundwork, the actual shooting becomes the focus. Here are crucial tips for capturing high-quality audio and video:
- Use a Test Run: Conduct a test shoot to ensure that both audio and video settings are correctly configured before capturing the final footage.
- Monitor Audio Levels: Regularly check audio levels through headphones to ensure clear sound quality and avoid any disruptions.
- Frame Your Shots: Apply the rule of thirds and other composition techniques to create visually appealing shots that engage viewers.
- Take Multiple Takes: Don’t hesitate to capture several takes of the same scene. This offers more options when editing.
Engaging with Your Subjects
Building rapport with your subjects is essential for authentic on-screen performances. Consider these strategies:
- Establish Trust: Before filming, engage in informal conversations to make your subjects feel comfortable and relaxed.
- Guide Them: Provide clear direction on what you expect from them, while also allowing room for natural interaction and spontaneity.
- Encourage Authenticity: Remind your subjects to be themselves. Authentic interactions often convert to captivating content.
Managing Lighting and Environment
Lighting is a pivotal element in videography, and effective management can greatly enhance production quality:
- Utilize Natural Light: Whenever possible, take advantage of natural light. Early morning or late afternoon shoots can yield softer, more flattering light.
- Be Mindful of Shadows: Position subjects to avoid harsh shadows on their faces. This is particularly relevant in outdoor settings.
- Position Lights Strategically: Use portable lights to fill in gaps and ensure consistency across scenes, especially in variable lighting environments.
Post-Shooting Techniques and Best Practices
Editing Your On-Site Videography
Editing is where the story truly comes together. Here are practical tips for editing your on-site videography:
- Organize Your Footage: Before jumping into editing, organize your files neatly, labeling them for easy access during the editing process.
- Cutting for Pace: Edit with rhythm and flow in mind, ensuring the pacing matches the emotional tone of the footage.
- Add Transitions Thoughtfully: Use transitions sparingly to maintain a professional feel, avoiding overly flashy effects that distract from content.
Effective Storytelling Techniques
To create compelling narratives through your videos, consider the following storytelling techniques:
- Structure Your Story: Follow the classic story arc—setup, conflict, and resolution—to keep your audience engaged and create a cohesive narrative.
- Incorporate B-roll: Using supplemental footage (B-roll) can add depth to your story, providing visual context and enhancing emotional engagement.
- Use Voiceovers and Soundtracks: Employing narration or music can help convey emotions and details that visuals alone may not adequately express.
Creating Engaging Content From Raw Footage
Transforming raw footage into captivating content involves knowing how to extract the best sequences:
- Highlight Key Moments: Focus on the most impactful moments that convey your message. These could be emotional reactions, pivotal actions, or key quotes.
- Experiment with Styles: Don’t be afraid to try different editing styles and techniques. Visual variety can keep the audience’s attention alive.
- Solicit Feedback: Before finalizing the content, seek feedback from colleagues or test audiences to gauge reactions and make final adjustments.
Maximizing Reach and Impact with On-Site Videography
Distributing Your Videos Effectively
Once your video is complete, the next step is distribution. Here are effective strategies to maximize reach:
- Utilize Multiple Platforms: Share your video across various platforms, including social media, blogs, and email newsletters. Each platform has its audience, expanding your reach.
- Optimize for SEO: Optimize video titles, descriptions, and tags using relevant keywords to improve visibility on search engines.
- Leverage Influencer Marketing: Collaborate with influencers in your industry to share your video, tapping into their audience for extended reach.
Utilizing Social Media for Promotion
Social media is a powerful promotional tool for videography. Here are strategies to leverage it effectively:
- Short Clips: Create teaser clips or GIFs from your video to share on platforms like Instagram and Twitter, encouraging viewers to watch the full version.
- Engagement: Engage with your audience by asking questions or encouraging discussions about the video content in the comments section.
- Use Ads: Consider running targeted ads to boost visibility, especially for significant releases or key promotional events.
Analyzing Viewer Engagement and Feedback
Post-release, understanding viewer engagement can inform future videography projects. Consider these practices:
- Review Analytics: Analyze viewer metrics such as watch time, shares, and comments to gain insights into how your content is performing.
- Solicit Feedback: Actively seek viewer feedback through surveys or social media interactions. This information can guide improvements in future productions.
- Iterate Your Strategy: Use the insights gained to refine your videography approach, ensuring each project improves upon the last.